How to paint artex
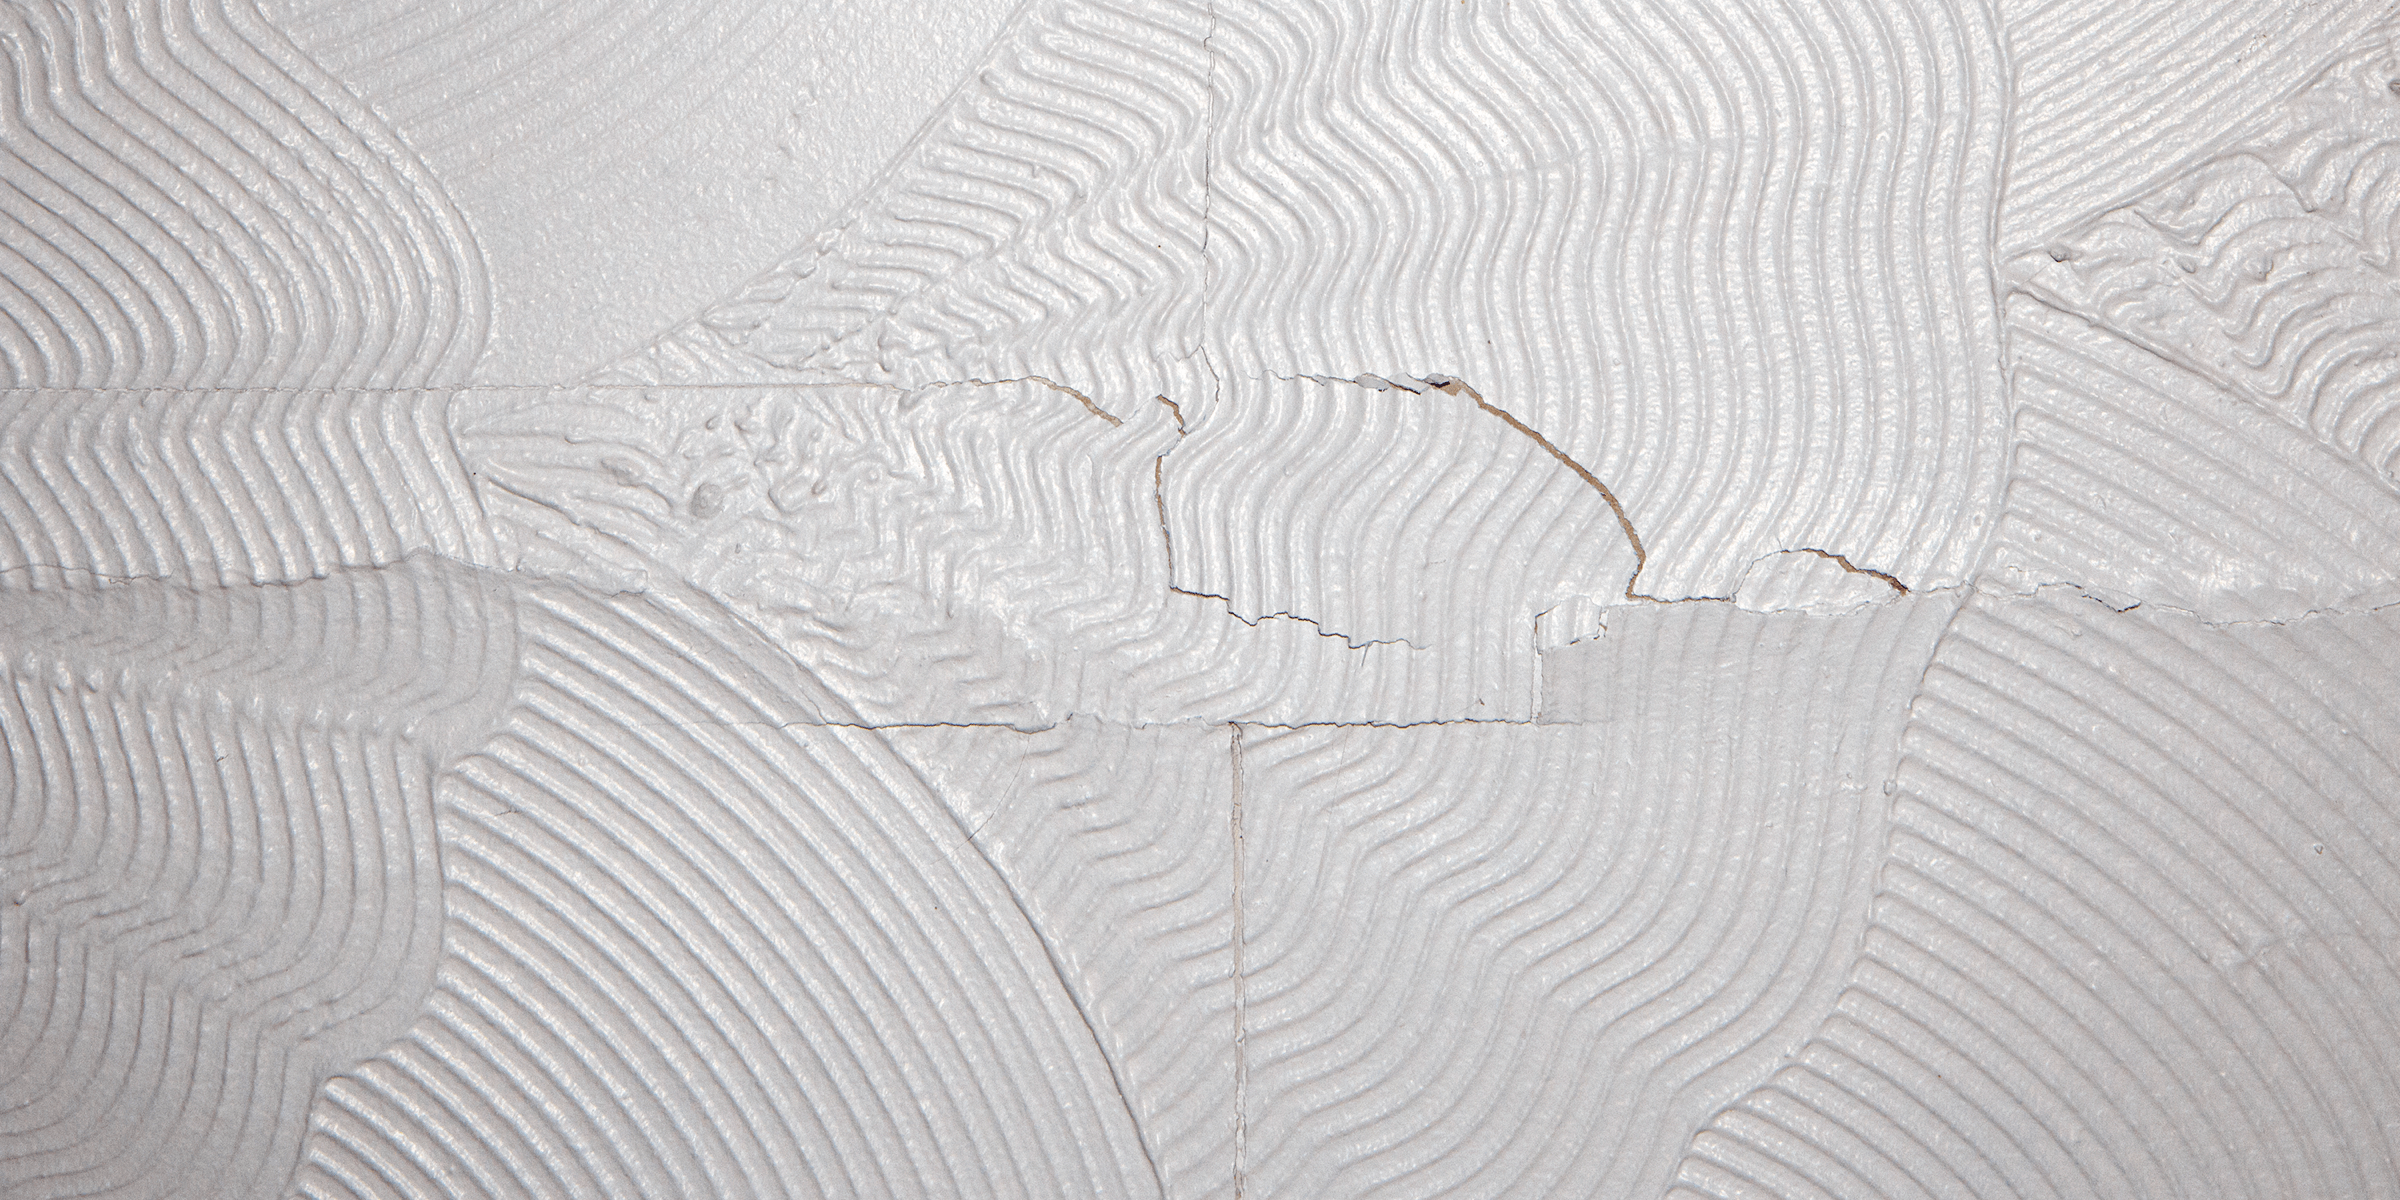
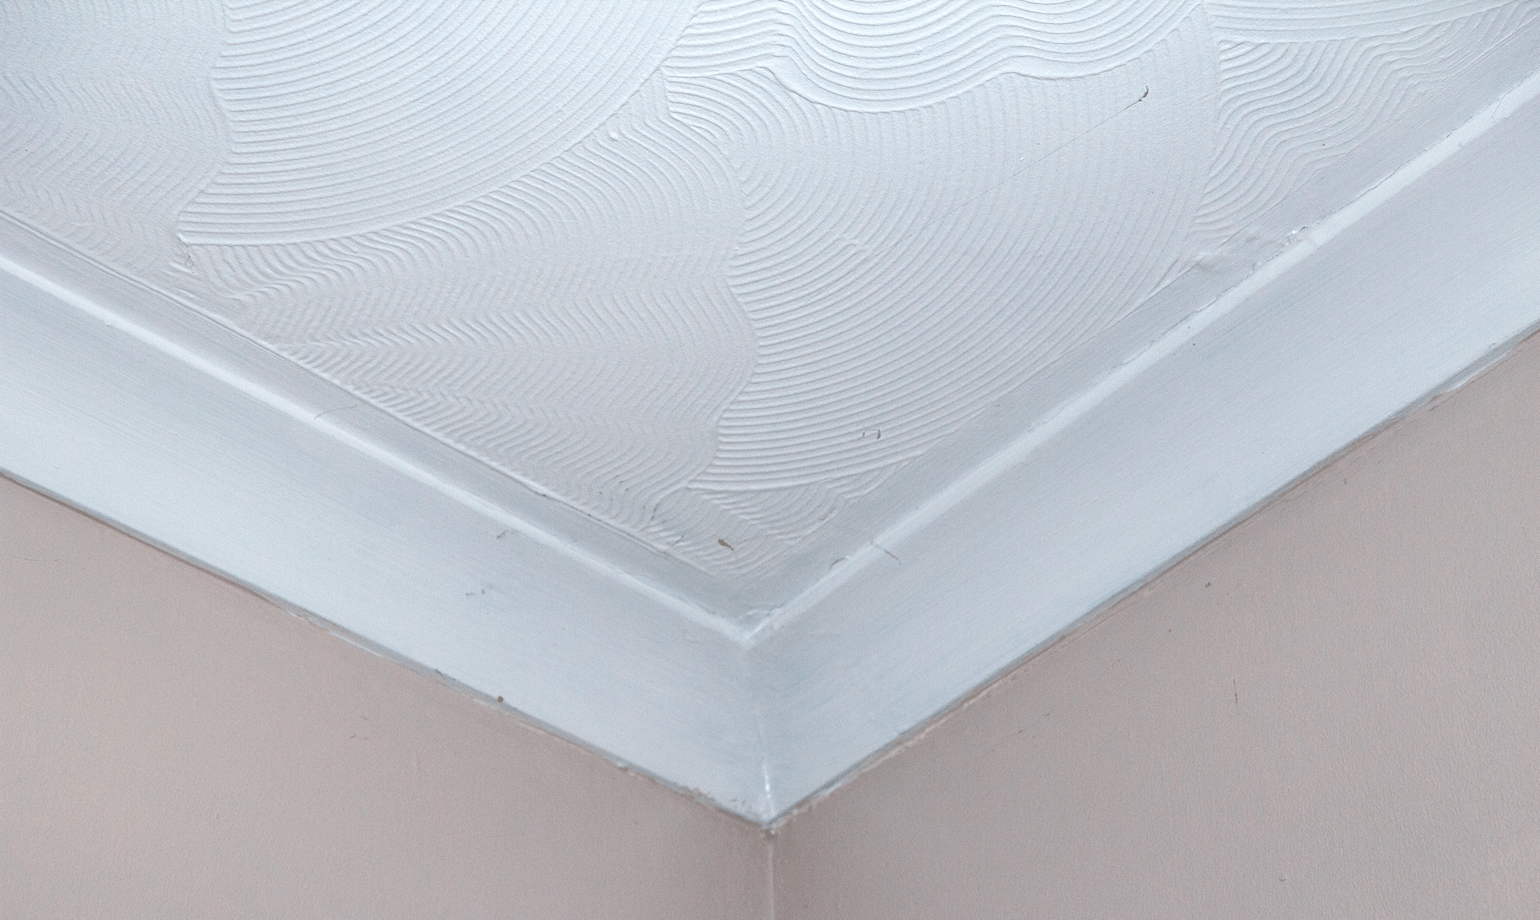
Artex is the textured effect you often see on ceilings. It can create any kind of patterned ‘popcorn’ effect and is often found in older houses. It was incredibly popular in the 1970s and homeowners either love it or loathe it.
If you’re in the loathing category, here’s how you can turn your textured 70s style hangover into a smooth sleek ceiling.
Get it inspected
Before you begin, you should get your Artex tested and inspected for asbestos.
Artex used between the 50s and 90s may be made up of around 4% asbestos. As asbestos deteriorates, it breaks down releasing harmful fibres that can cause a range of different illnesses.
Not all Artex contains asbestos but, before you do any work on your ceiling, it’s important to check.
As a rule of thumb, if your home was built before 1985, the Artex probably contains asbestos. Houses built between 1985 and 1999 likely don’t have asbestos Artex, but it’s still worthwhile consulting with a professional.
There’s no way to tell by looking if your Artex contains asbestos as the fibres are so small. To know for sure, a sample will need to be tested. There are plenty of expert businesses that offer this service and can help you find out if your ceiling is affected.
If asbestos is found, you have a couple of options available:
- If it’s in a good condition, you can plaster or panel over it to get a smooth surface for painting
- Or, if the ceiling is damaged in any way, you can get a professional to remove the Artex.
If your ceiling is in good condition, plastering over it will set the Artex and asbestos in place. This is fine as long as you’re not intending to drill or disturb the asbestos.
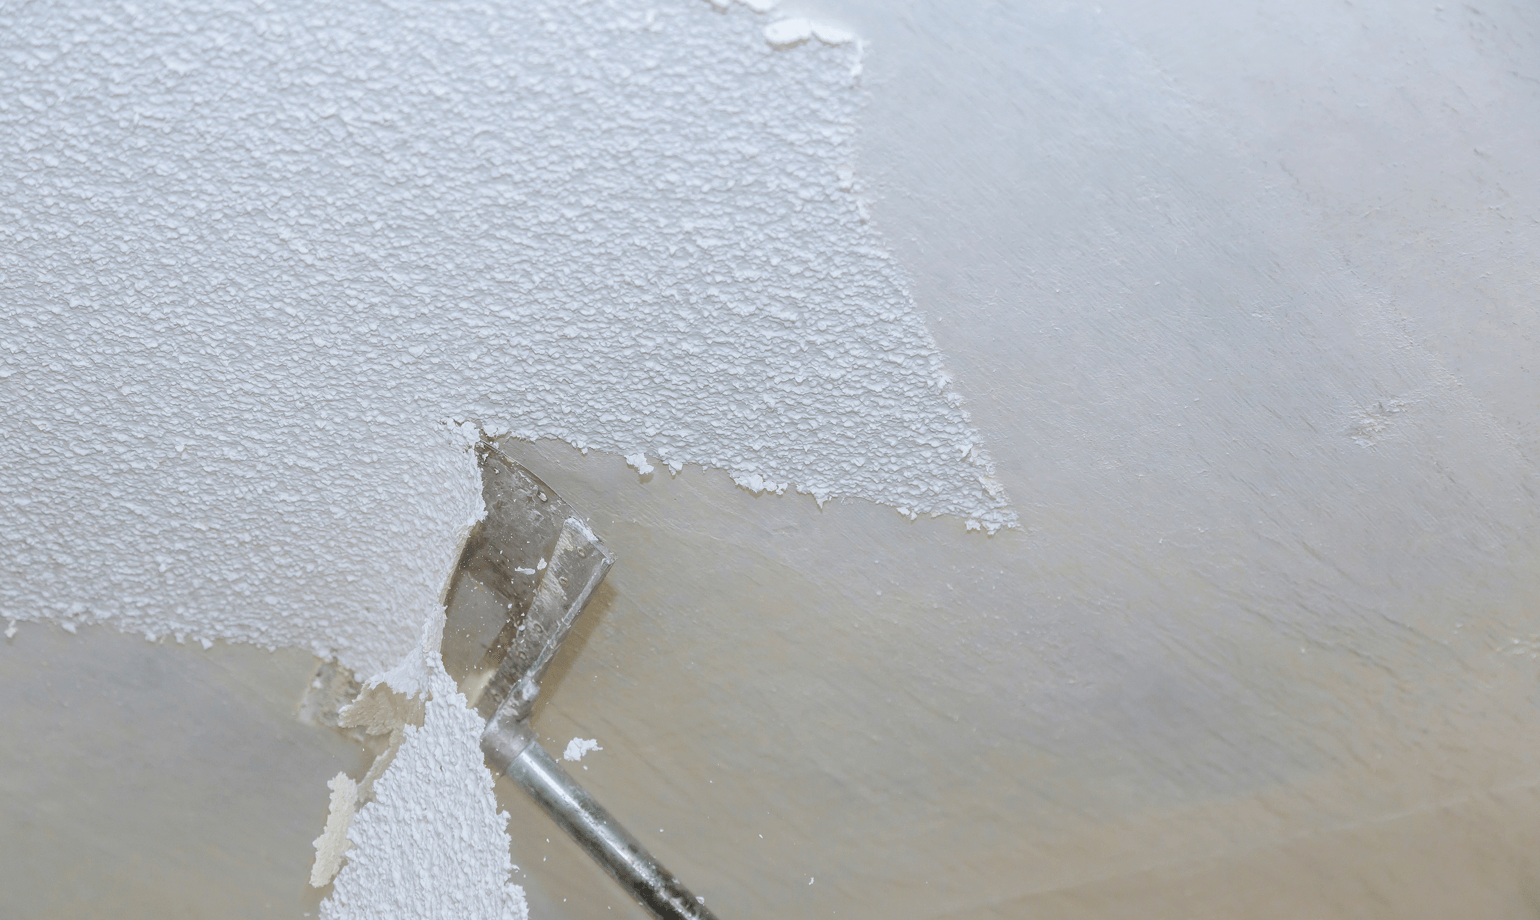
Removing Artex
If your ceiling is asbestos-free, you can get rid of your Artex. You don’t need expertise DIY skills to take this on but it will take time, so you have been warned!
Put down a dust sheet and wear safety goggles and a ventilation dust mask. Even if your ceilings are relatively low, we still recommend using a step ladder to save you having to stretch.
Just like removing wallpaper, a steamer can make a big difference to removing Artex.
Place the steamer on a patch of Artex for a few seconds to soften it. Use a flat edged scraper to test the softness every few seconds. If you overdo the steaming, you might end up turning the Artex to liquid, which is very messy!
Once the Artex has softened, use a flat edge scraper and scrape it away.
After you’ve removed all the Artex, check the quality of the ceiling. You may need to use a smoothing compound to even out and fill any holes. Once the compound has dried, lightly sand the surface to smooth it out.
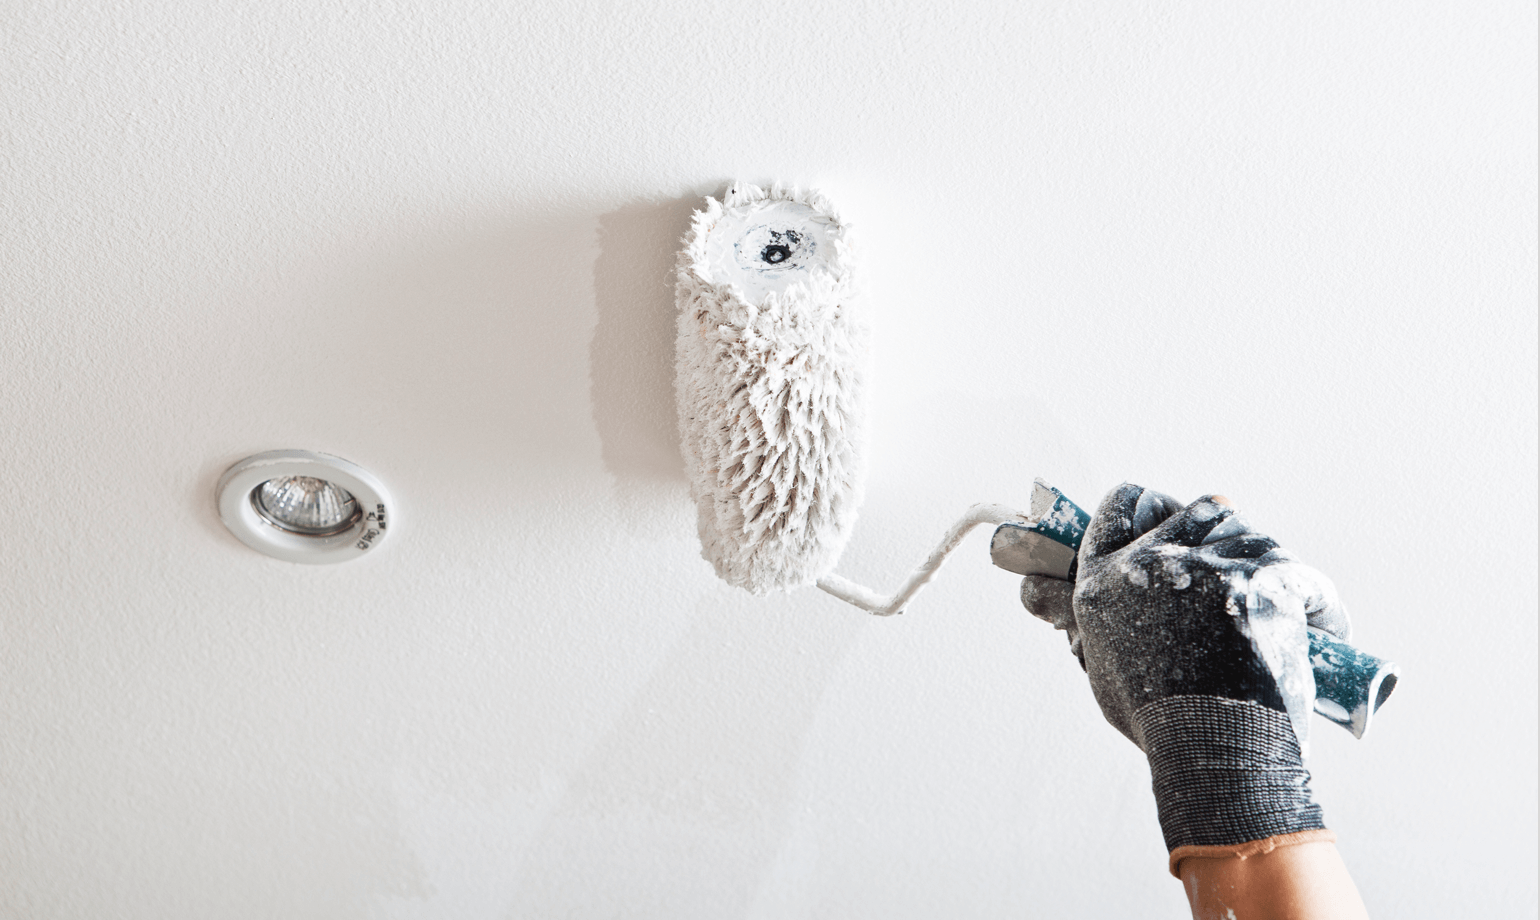
Now your ceiling is ready for painting!
For more advice on how to paint a ceiling for an expert finish, read our step by step guide.
How to cover Artex ceiling with paint
We don’t recommend you paint straight over Artex, it’ll take several coats no matter how good the paint is.
But, if you level out the Artex first, then you can paint it. There are plenty of smoothing products available which can make evening your Artex easy.
This is just as easy as removing the Artex and is a similar technique to filling holes in walls or smoothing out plaster.
Once it’s smoothed over and dry, you can paint the ceiling. But you don’t have to stick to plain white, we’ve got plenty of colourful inspiration to spark your creativity.
So find your inspiration and pick your colour!


