How to paint laminate furniture
Follow our step by step guide to learn how to paint laminate furniture
Laminate furniture is affordable, durable and easy to assemble. It’s also easy enough to upcycle and makeover. So you can give an old piece a new lease of life and do your bit for the environment.
Step 1: Prep
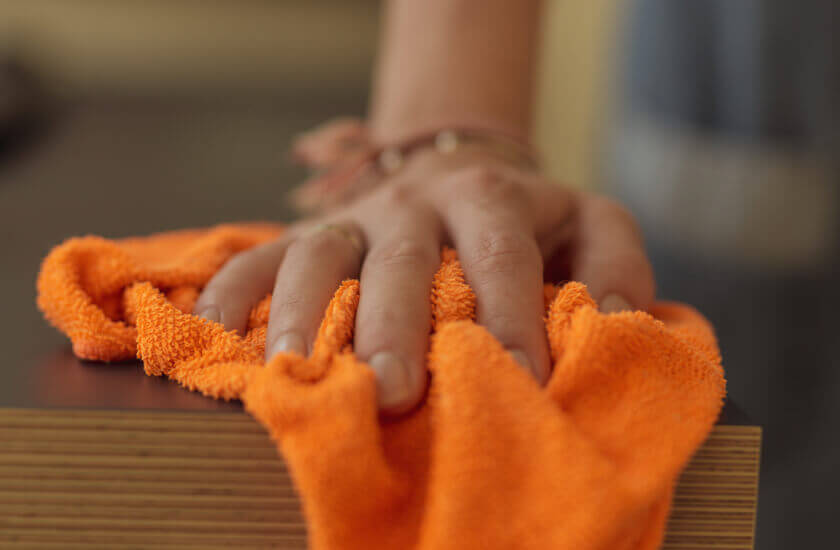
To get the best finish, you need to get the prep right. If you don’t, you might find that the paint peels, bubbles or easily rubs off. Primer will help the paint stick and give you a long-lasting finish. It doesn’t have to be a specialist primer and a 2 in 1 paint and primer will work too. Our Furniture Paint goes one better and is a 3 in 1 primer, paint and finish. So you just need one product for your job. Before you can start painting or priming, you need to clean the furniture with sugar soap and wipe it down with water. This will remove dirt, grime and grease, giving you a smooth and clean surface to paint. Remove any fixtures like handles and keep them safe. If there are parts of the furniture you don’t want to paint, protect it with tape. Unlike masking tape, decorator’s tape doesn’t bleed so you’ll have crisp lines. Masking tape isn’t quite as effective, but if it’s positioned close to the edge, then your lines will still be neat.
Step two: Sand
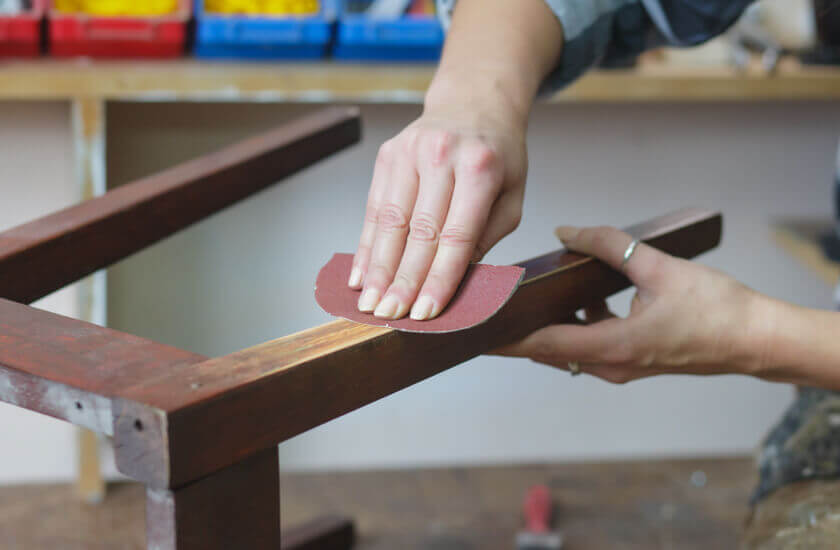
After you’ve wiped off the sugar soap and left the surface to dry, you need to sand it. This roughens up the smooth surface and gives the paint something to stick to. Use 120 grit sandpaper and go over the laminate surface, getting into all the nooks and crannies. If you spot any damage to the wood, fix it with filler and smooth it out.
Step three: Prime
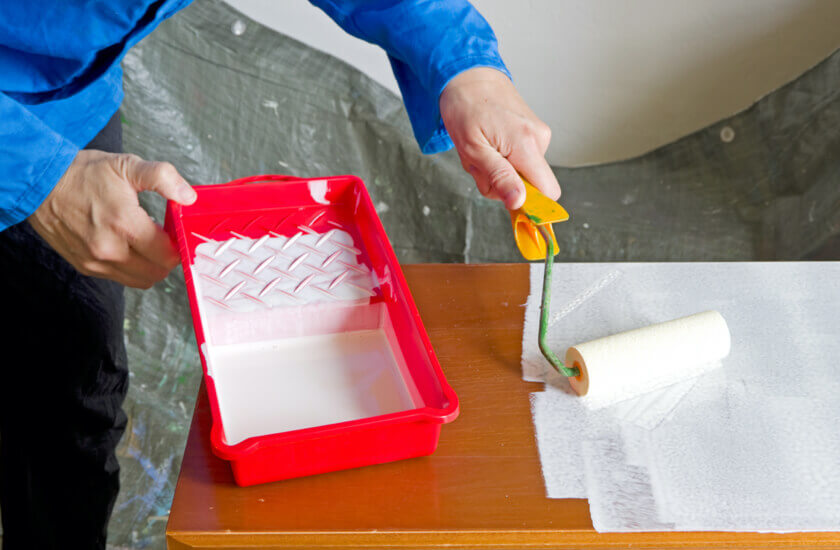
If you’re using a paint that’s a 2 in 1 primer, like our Furniture Paint, you can skip this step. Otherwise, follow the instructions on your primer. Priming is really important with laminate furniture, so don’t jump straight to applying the paint as this will be wasted effort. If the laminate has never been painted before, you will need to apply two coats of primer. When the first coat of primer has dried, lightly sand it before applying the second coat. This will help cut down on brush strokes and help the primer stick. If you’re painting a piece of furniture that has intricate details, paint those parts last.
Step four: Paint
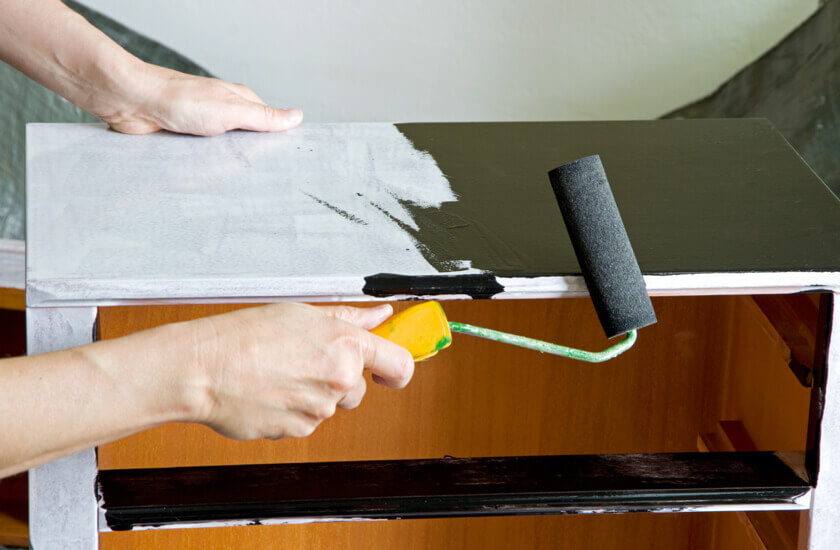
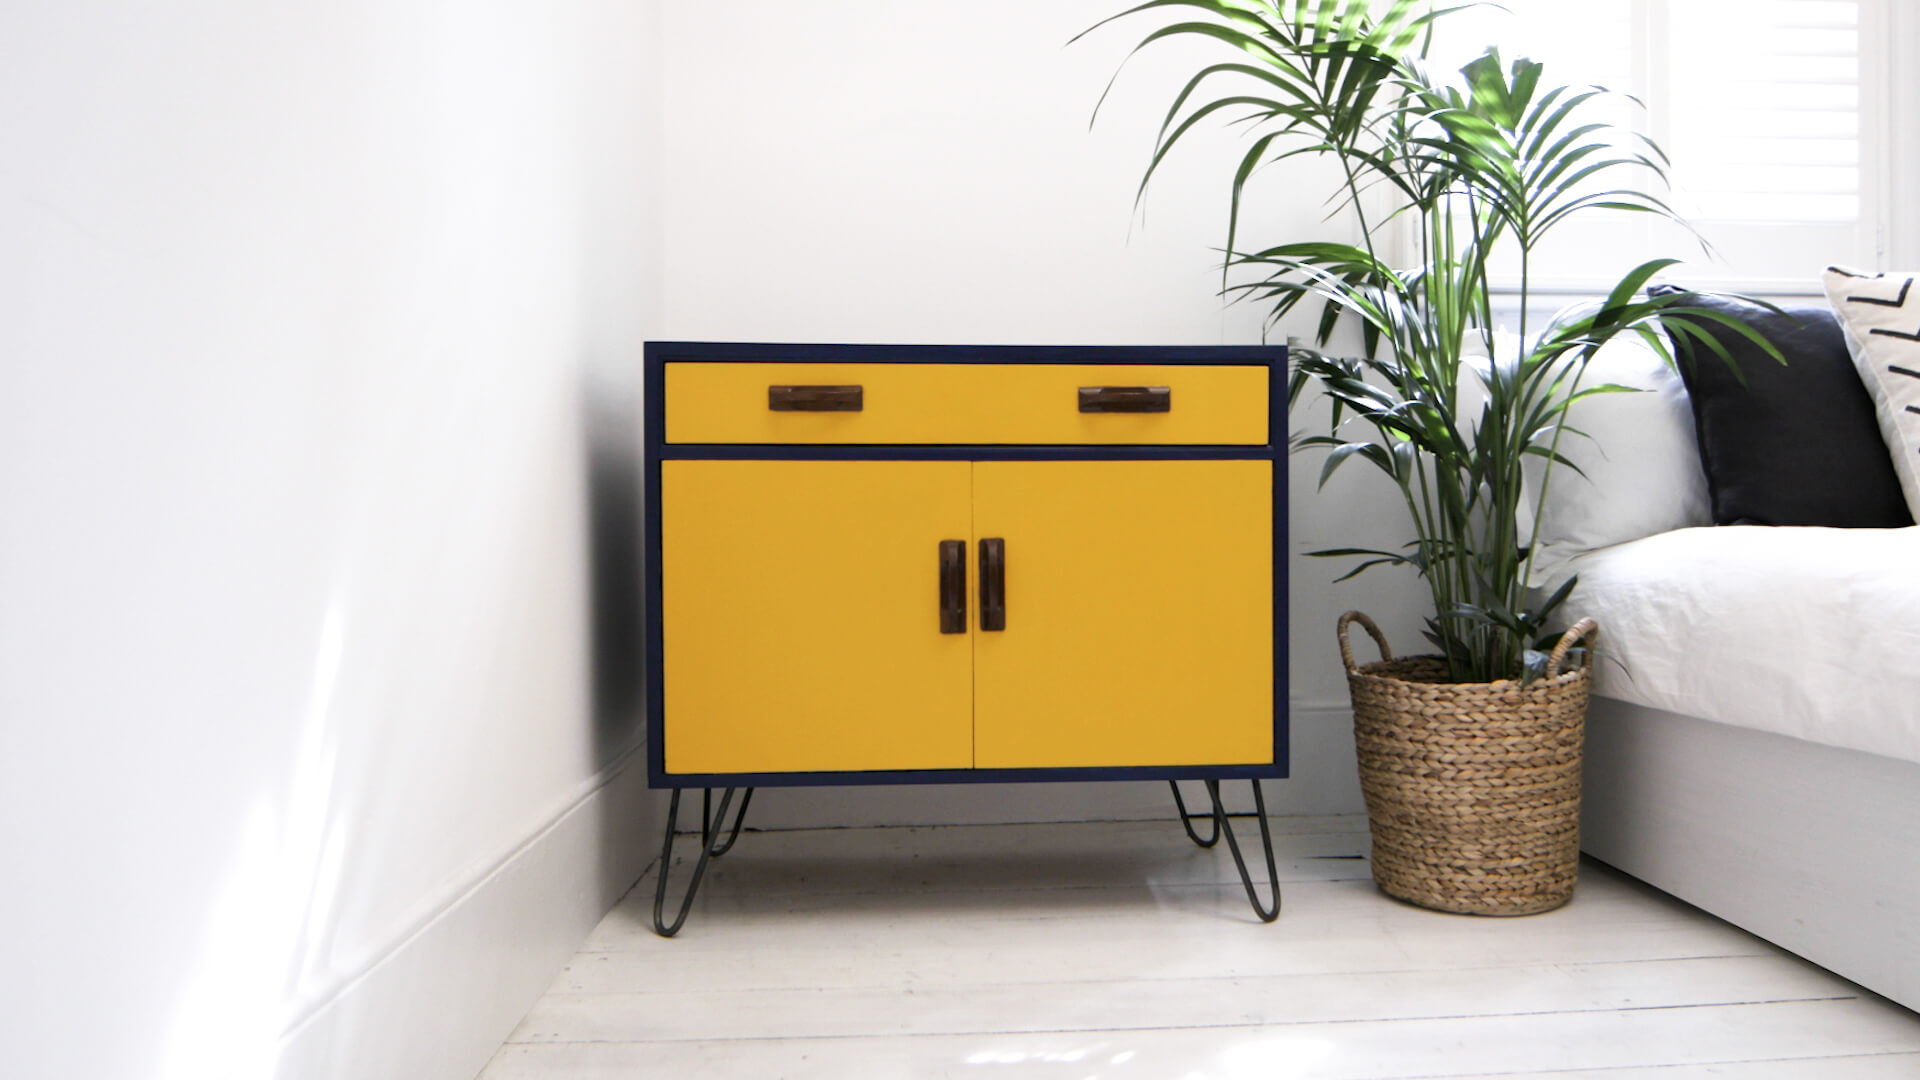
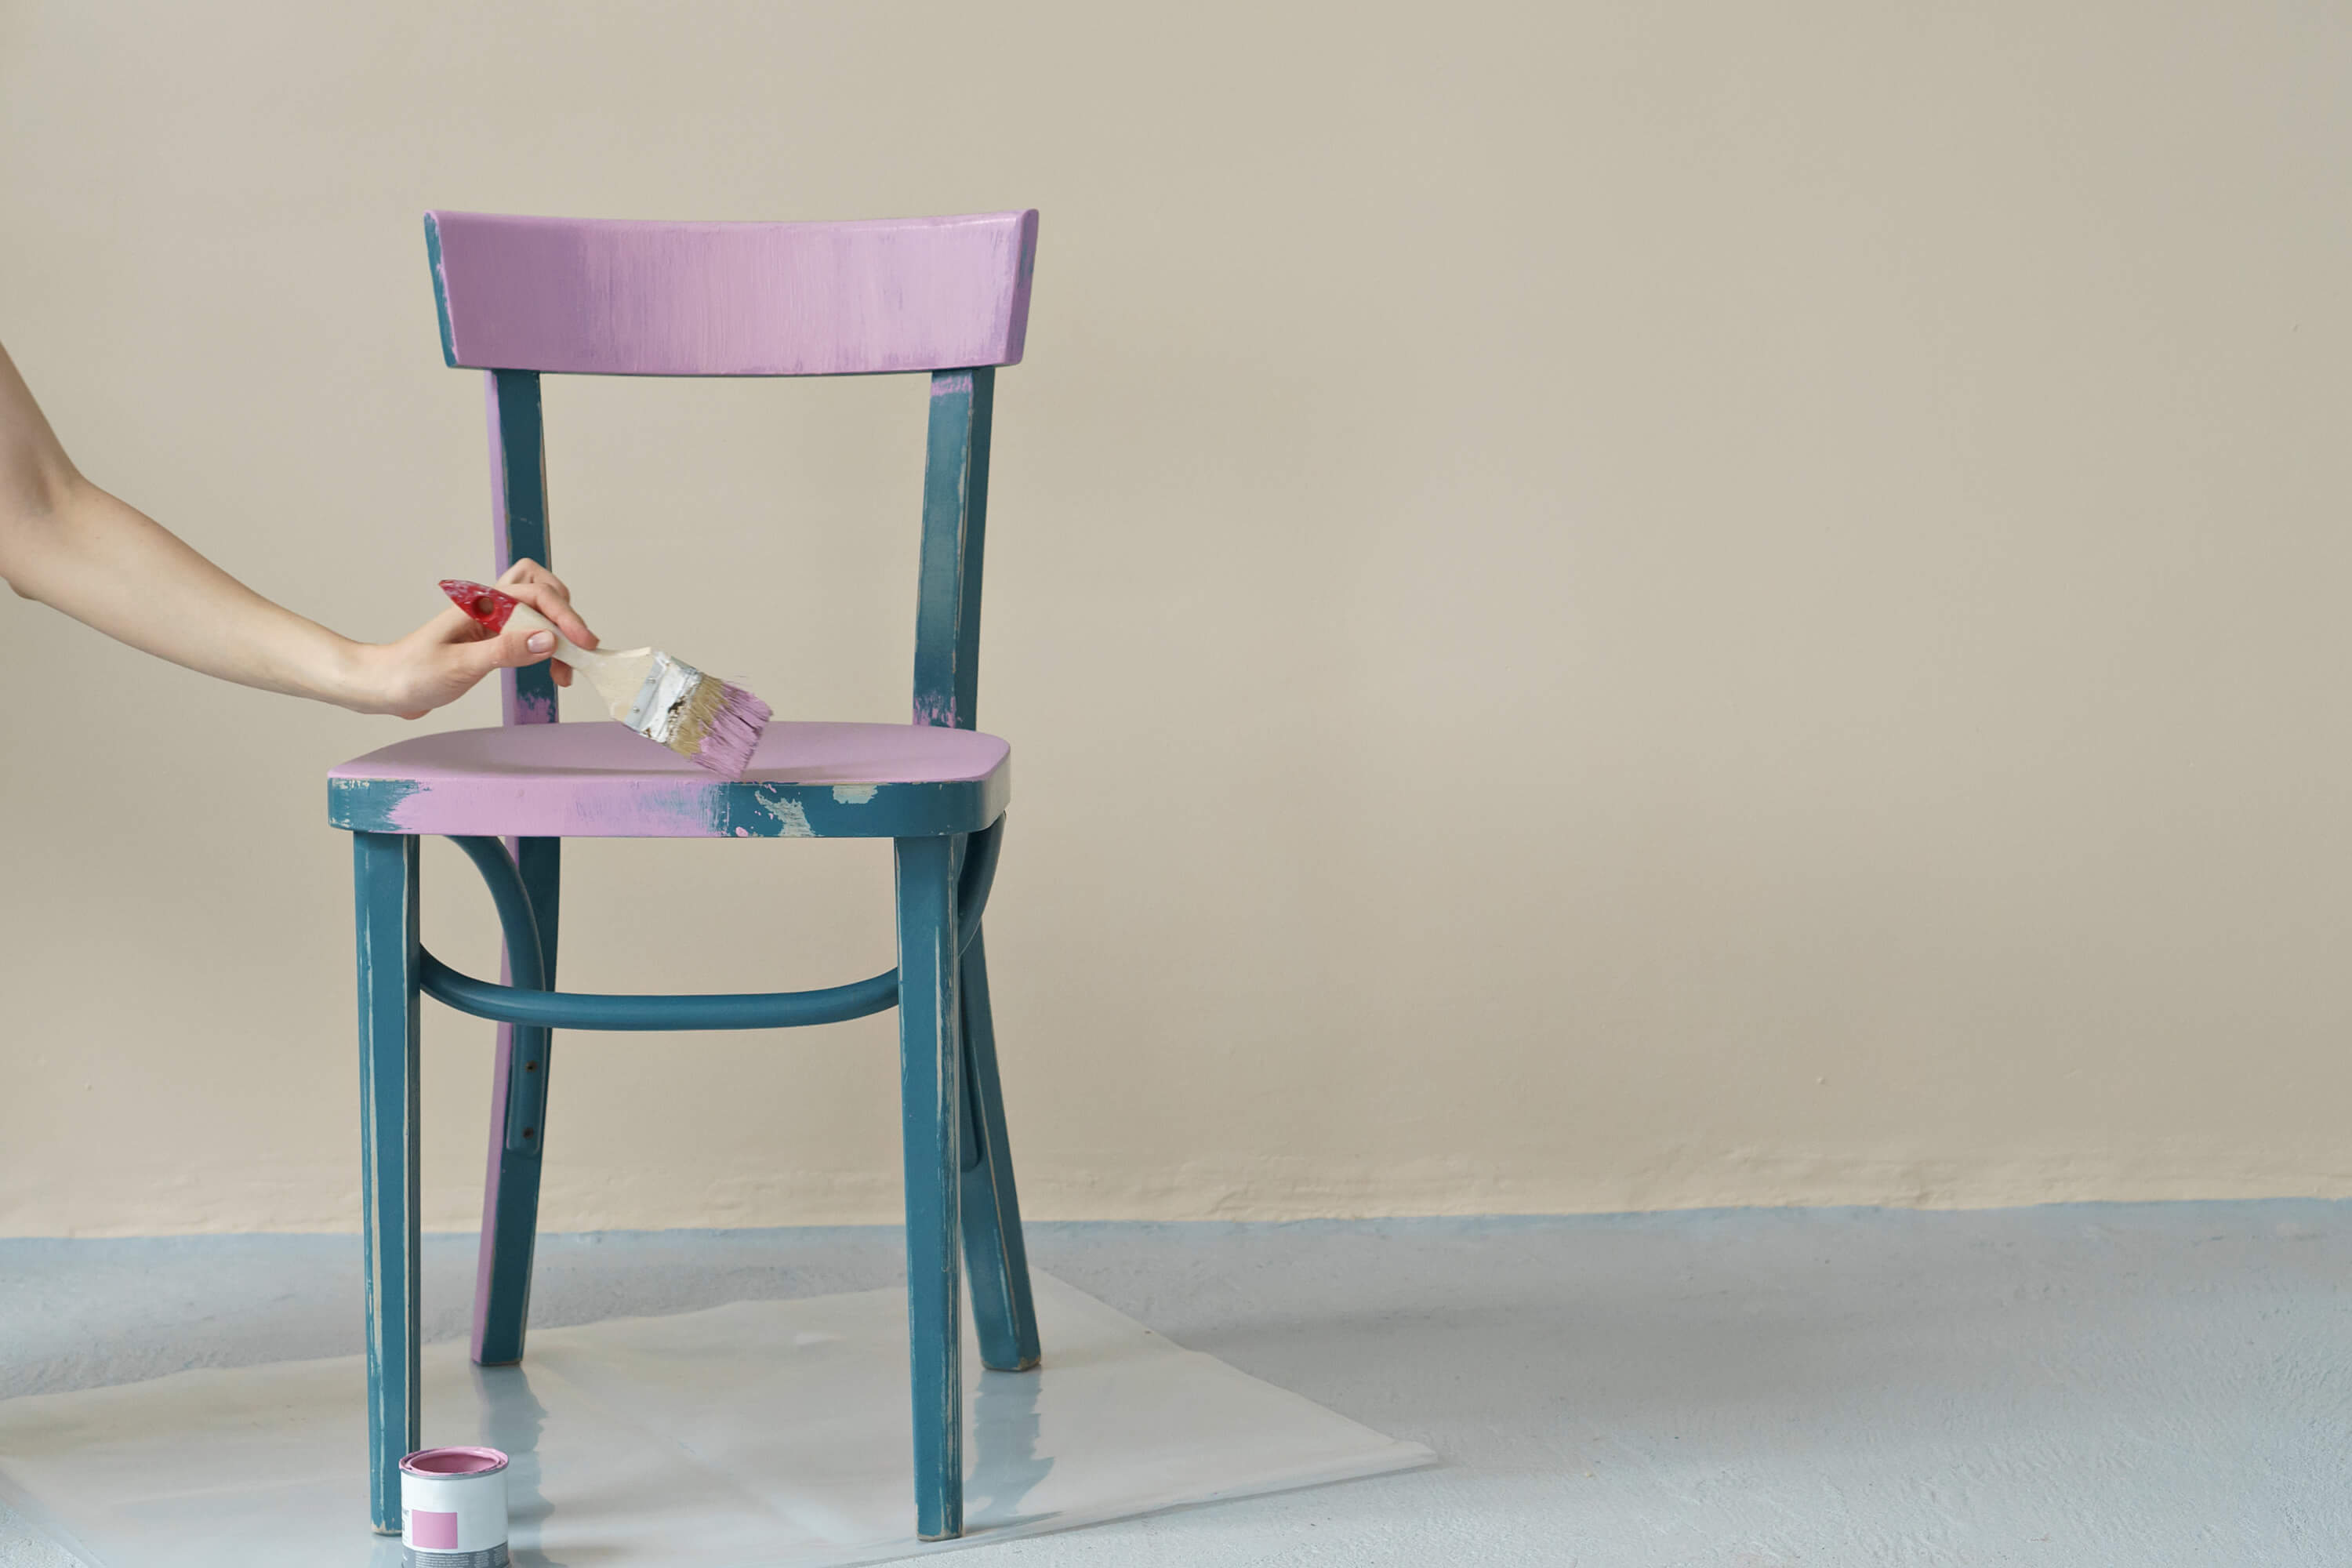
As soon as the last coat of primer is dry, sand it again. Now you’re ready for the first coat of paint. If you’re painting a piece that has panelling or intricate detail, start on the outside and work your way in, painting in a logical order. For big flat areas like the side of a wardrobe, use a roller for the best finish. Follow the instructions on the paint, ensuring you sand between each coat. After you’ve applied the last coat, remove the tape while the paint is still wet. If you wait until the paint is dry, you might accidentally peel some of your hard work off! Once it’s dry, you can reattach handles or odds and ends. Voila! It’s like you’ve got a brand new piece of furniture.
