How to paint stairs, spindles and bannisters
Bannisters and spindles are fiddly features to paint. You don’t have to be a contortionist to do a good job though, here are our top tips for a perfect finish.
If you want to completely revamp your staircase and paint the stairs, bannister, spindles, start with the fiddly bannister and spindles first. That way, you won’t splash paint on your freshly painted stairs.
What paint to use on a stair bannister
Paint for wood is essential. It’s specially formulated to stick to wood, giving you a smooth and lasting finish.
Wood paint often comes in three finishes; eggshell, satin and gloss. Don’t worry if you’re confused by the difference; we’ve answered all your questions about that. If you’re painting a dark staircase or hallway that doesn’t get much natural light, a finish that reflects what little light there is will help to brighten the space.
But if you want a more modern finish, our Furniture Paint is in dead flat matt and doesn’t reflect any light.
How to paint a bannister
Bannisters are pretty easy to paint because it’s a relatively flat surface.
1. Protect the area
If you’re not painting your stairs too, you’ll need to protect them with a dustsheet. Even the most careful painter can get small flecks of paint on the floor.
To stop the sheet from sliding around too much, stick it down with tape.
You should also use decorator’s tape to protect the areas you don’t want to get paint on, like on an adjoining spindle or wall. Decorator’s tape is similar to masking tape, but it’s much better at stopping the paint colour from bleeding through the tape, giving you clean lines and a perfect finish.
Credit: Instagram - @tools.tears.and.tantrums
2. Clean the area
Clean the bannister with sugar soap and a clean sponge. This will cut through dirt and eliminate the grime that accumulates over time - think of the number of hands that touch this bannister! Use a clean cloth soaked in water to wash off the sugar soap and leave it to dry.
3. Sand the bannister
If the bannister is shiny and has been varnished or painted, sand it back until the sheen is gone. If your bannister is bare wood, it just needs lightly sanding to roughen up the surface.
For bannisters with peeling paint, remove the flaking sections first and then sand.
Noticed some chips in the wood? Fill them, let the filler dry and sand it down, so it’s flat with the wood.
4. Prime
You only need to prime if you’re using a paint that says it needs a primer. Unless you’re painting bare, absorbent surfaces, you can apply our paint straight onto wood.
If you’re dramatically changing the colour (from dark to light, for example, or vice versa), use a suitable tinted primer to make the job easier.
Stir the primer and with a brush, apply it to the bannister. Paint in the direction of the grain (it will feel smooth when you run your hand over it), working in long strokes. If you have any intricate detailing, use a fine brush to ensure the primer doesn’t congeal.
Let the primer dry.
5. Paint the bannister
Find your colour first. We’ve got 2,000 pre-selected colours to choose from, or you can choose to mix your own. Have a look at our range to find one you love and order colour chips to see how the sample works in your home. Or, invent your own colour with our mixing service. We can match 2.2 million, so you’re sure to find one you love.
So once you’ve got your colour, you can start painting. As with primer, use a big brush for the flat spaces and a finer brush for fiddly details.
Let the first coat dry and apply a second. If you’re covering a dark colour with a light colour, you might have to apply a third coat.
While the final coat dries, peel off any decorator’s tape when the paint is still wet. Let it completely dry before painting your spindles.
How to paint stair spindles
Spindles are the vertical wooden columns that support the bannister. They come in all sorts of styles, including twisty and intricate designs. So that means that they can be harder to paint.
The process is much the same as painting bannisters, but because of the intricacy of the design, you need to use a fine brush.
We also recommend using a flat cloth or scouring pad that you can shape around the detail. This will better help you clean away dirt and dust that accumulates in the nooks and crannies.
If you’re painting the bannister, spindles and staircase (or a combination of the three), paint the spindles before painting the bannister.
1. Protect the area
Put down your dust sheet to protect the staircase and surrounding area.
Use decorator’s tape to protect the underside of your bannister or areas you don’t want to get paint on. This is especially useful if you’re painting the spindles a different colour to the bannister. Put the tape as close to the edge of the spindles as possible, protecting the areas you’re most likely to get paint on. This will also give you satisfyingly clean lines when you finish. If you’re not painting the bannister a different colour, you will only need the decorator’s tape at the base of the spindles.
2. Prep and sand the spindles
Use sugar soap and a clean cloth or flat scouring pad to clean the spindles. Apply the sugar soap directly to the wood and give it a rough scrub to dislodge dirt. Then, with another clean cloth, wash off the sugar soap residue with clean water. Let it dry.
Then, sand the spindles. If they’re in good condition with no peeling paint, use fine sandpaper to go over the surface roughly. If the paint is damaged, use a flat scraper to peel and remove the sections of damaged paint first. Then, use medium-grit sandpaper to sand down to the bare wood.
Wipe away the sanding dust. Look over the spindles to see if there’s any chipped wood or scratches. If there are, use filler to repair the damage and then sand it back smooth once it’s dry.
Now your spindles are ready to paint.
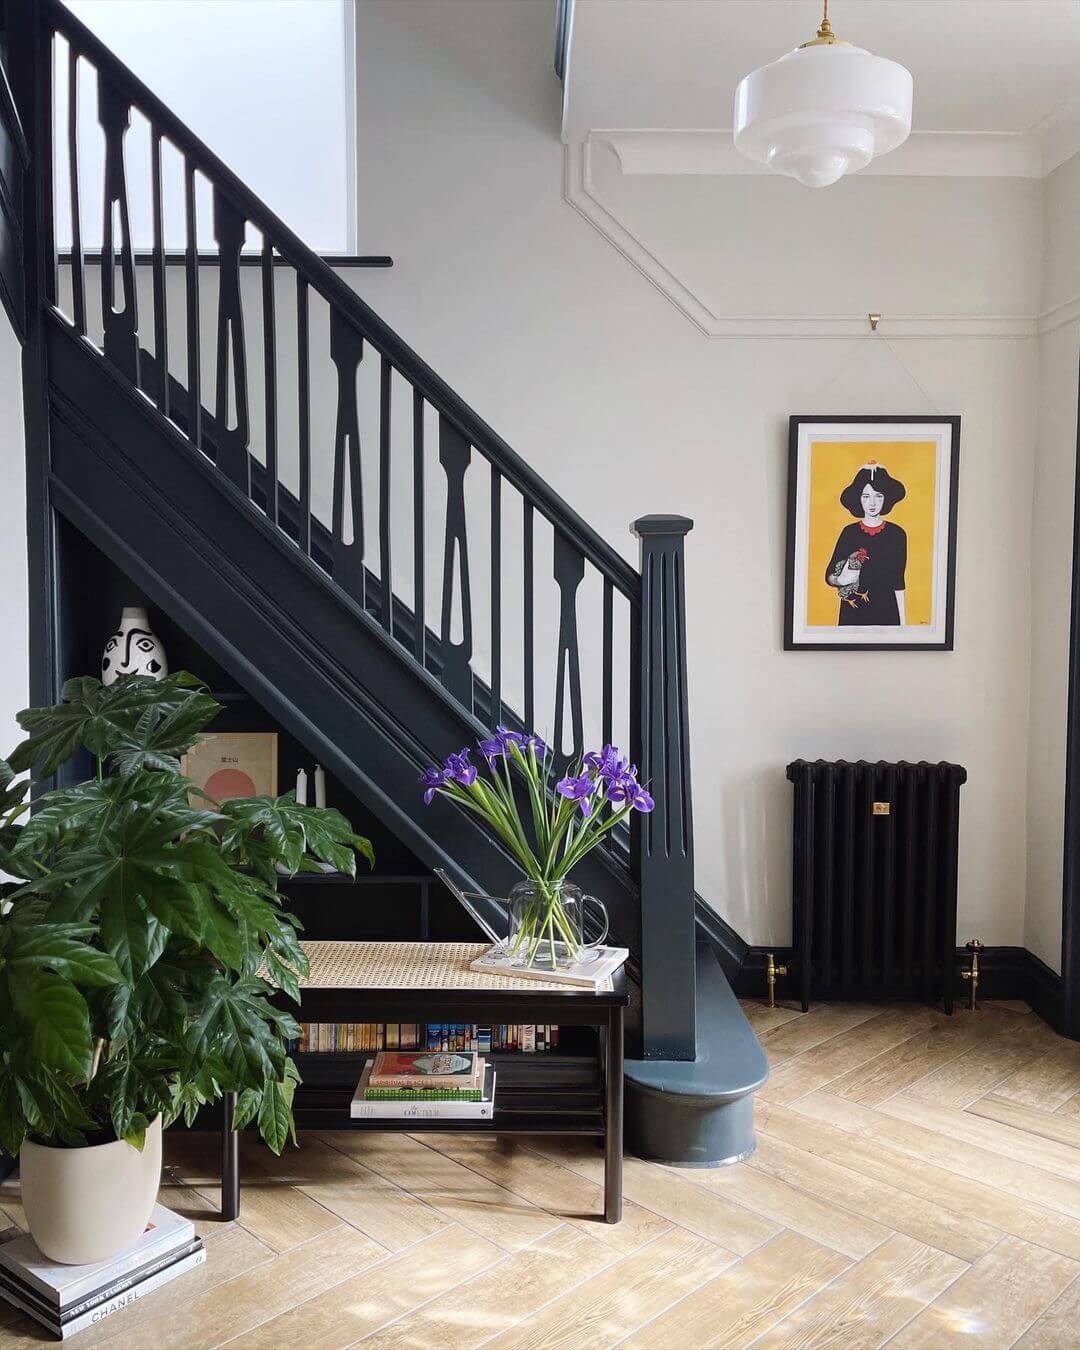
Credit: Instagram - @1930s_semi_charmed_life
3. Prime the spindles
If you’re using a paint that doesn’t need a primer, you can go ahead and skip this step.
Otherwise, apply the primer.
Use a brush specifically for intricate details. These are often angled, triangular or rounded and help evenly distribute the paint, getting into the difficult areas.
Follow the instructions on the primer and let it dry.
4. Paint the spindles
After the primer has dried (or if you’re skipping that step), paint the spindle.
Thoroughly stir the paint, making sure all the colour is mixed.
Dip in your brush and apply the paint. Paint in the direction of the grain (the wood will feel smooth when you run your hand in that direction), working in long strokes. Be careful not to spread the paint too thinly.
When painting the details or intricate areas, make sure the paint doesn’t form blobs or accumulate in areas.
Let the first coat dry and apply a second. Assess the coverage and see if it needs a third coat.
After you’ve painted the final coat, peel off the decorator’s tape while it’s still wet.
How to paint stairs
Painting your stairs is an affordable way to transform your hallway.
This is a bigger job that can take a while, and when you need to use your stairs, that’s not ideal! So you can either paint before you go to sleep and let it dry overnight or paint every other step so you can still use the stairs. As most paints need at least 24 hours to settle before you can stand on them, we recommend painting alternate steps so you can at least still use your staircase.
You can’t use wood or furniture paint on your stairs. You need special hard wearing floor paint that can cope with knocks, scuffs, scratches and wear and tear of everyday life.
1. Prep your staircase
First things first, pull up any carpet or runners to reveal the wood.
Assess the quality of the staircase to decide how much work you need to do.
If there’s worn and damaged old paint, you need to sand or scrape it off. If there’s old paint, but it’s in good condition, it just needs sanding over to create a rough surface for the new paint to stick to.
We recommend using an electric sander for this job. It’ll make it much quicker and will be kinder on your hands too.
You also need to take the opportunity to repair any damage. If your carpet or runner was nailed down, pull out the nails and fill the holes. Let the filler dry before sanding it back so it sits flush with the wood.
The last bit of prep is cleaning. Use sugar soap and spray it directly onto the wood, and then, with a clean cloth or scouring pad, scrub it clean. Use another clean cloth and clean water to rinse off any residue. Let it dry.
Your staircase should now be clean, sanded, dry and ready to paint.
2. Outline your plan
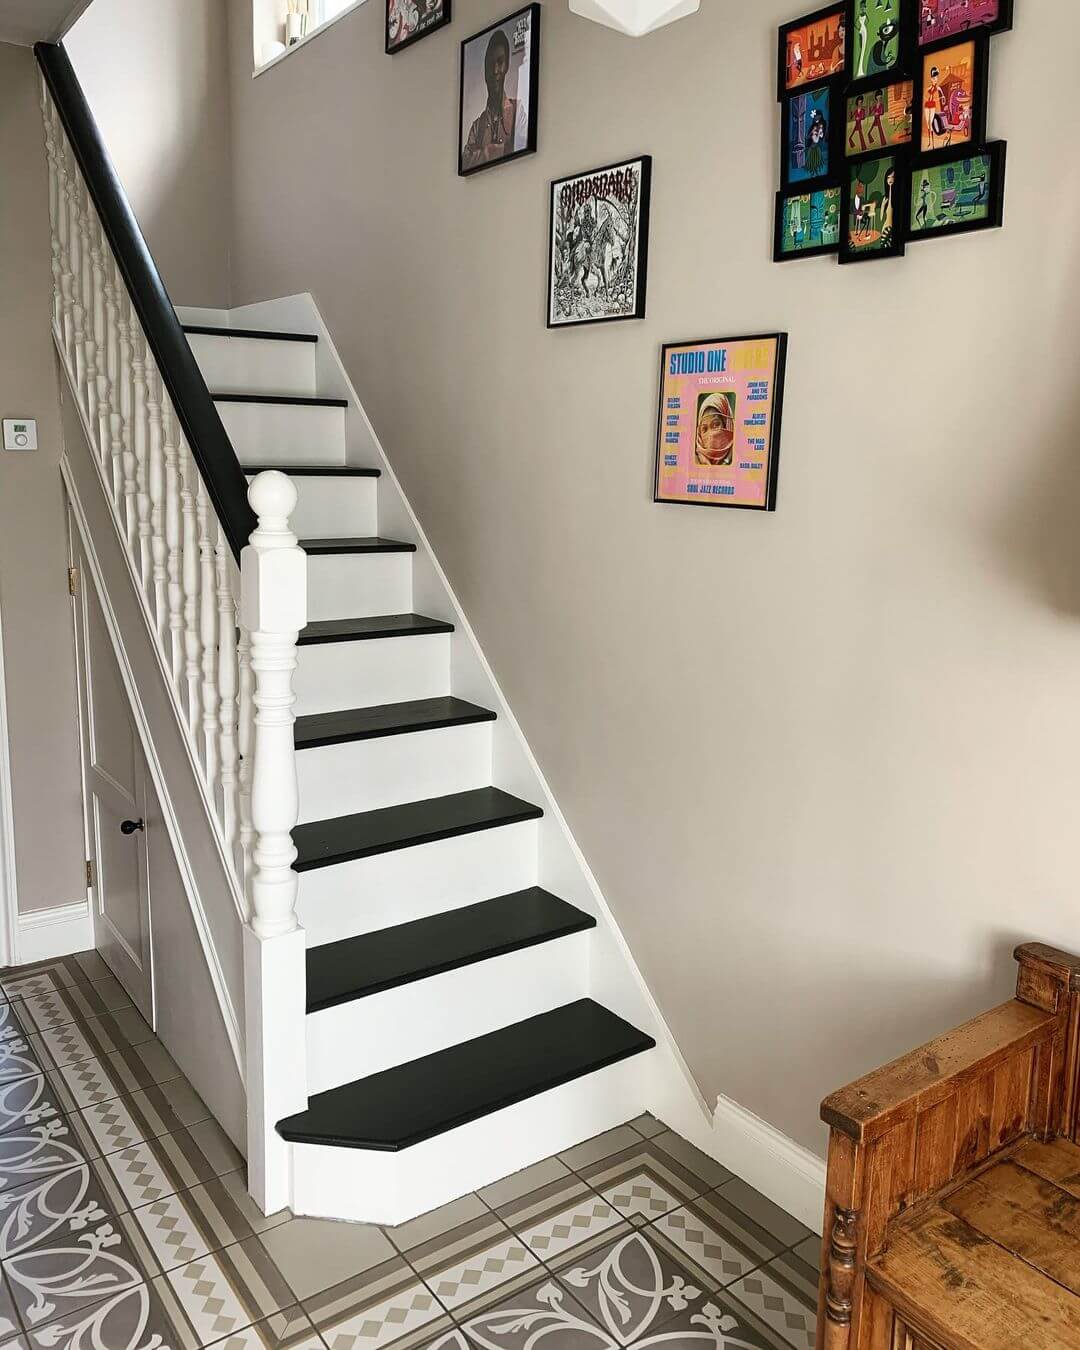
There are a few different ways you can paint your staircase. Alternate colours, a runner effect, contrasting colours on the risers… there are lots of different ways you can paint your steps.
Decide the kind of effect you want and use your trusty decorators’ tape to outline the design. This will keep it neat and clean.
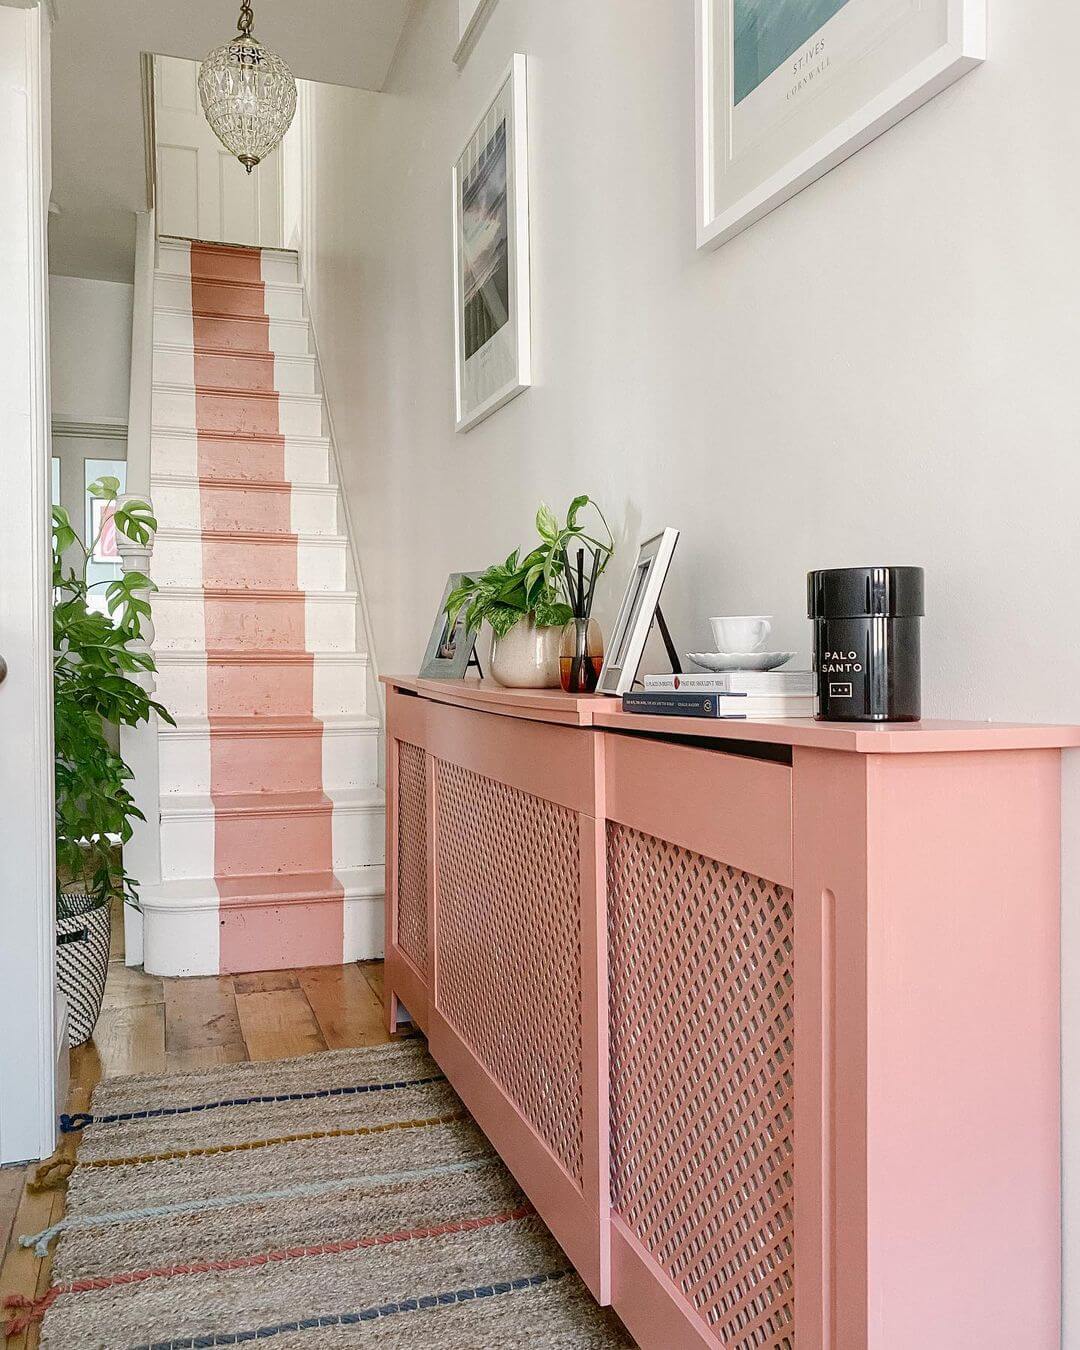
Credit: Instagram - @littlebristolterrace
3. Prime the steps
Now you’ve finished the prep, you can move onto the painting.
Check if the paint you're using needs a primer. A lot of floor paints are very hard-wearing, so don’t necessarily need a primer, but you should always follow the instructions on the tin.
Stairs are most easily painted with a big paintbrush for the flatter areas, and a smaller brush for cutting in at the edge and detailing.
Thoroughly stir the primer. Dip your brush in and wipe off excess on the rim. Cut in around the edge first before filling in the middle.
Let the primer dry.
4. Paint the steps
Stir the paint thoroughly, making sure the colour is mixed.
Paint your first coat, cutting in at the edges first.
Let the first coat dry and then recoat. Continue until you’re happy with the coverage and colour.
Peel off the decorator’s tape while the paint is still wet. This stops the paint from drying and peeling off alongside your tape.
The paint should have instructions on how long you need to wait before you can walk on the floor, so check that. Wait the right amount of time before painting the remaining steps.


